ABS (strong and slightly rigid) and TPU (soft and flexible) are awesome filaments, but both can show visible layer lines after printing. The good news: with a few simple finishing techniques, you can take your parts from “fresh off the printer” to smooth, clean, and ready for display or real-world use.
This beginner guide covers the most reliable methods for finishing ABS and TPU 3D prints: sanding, chemical smoothing (ABS), priming and painting, and choosing the right glue for each material.
PETG cannot be smoothed with acetone.
Unlike ABS, PETG is chemically resistant to acetone. PETG smoothing is best done using controlled sanding, heat polishing, or surface coatings.
Quick note: If you’re finishing PLA or PETG instead, jump to our broader guide here:
Ultimate 3D Print Finishing Guide – Smoothing, Painting and Gluing.
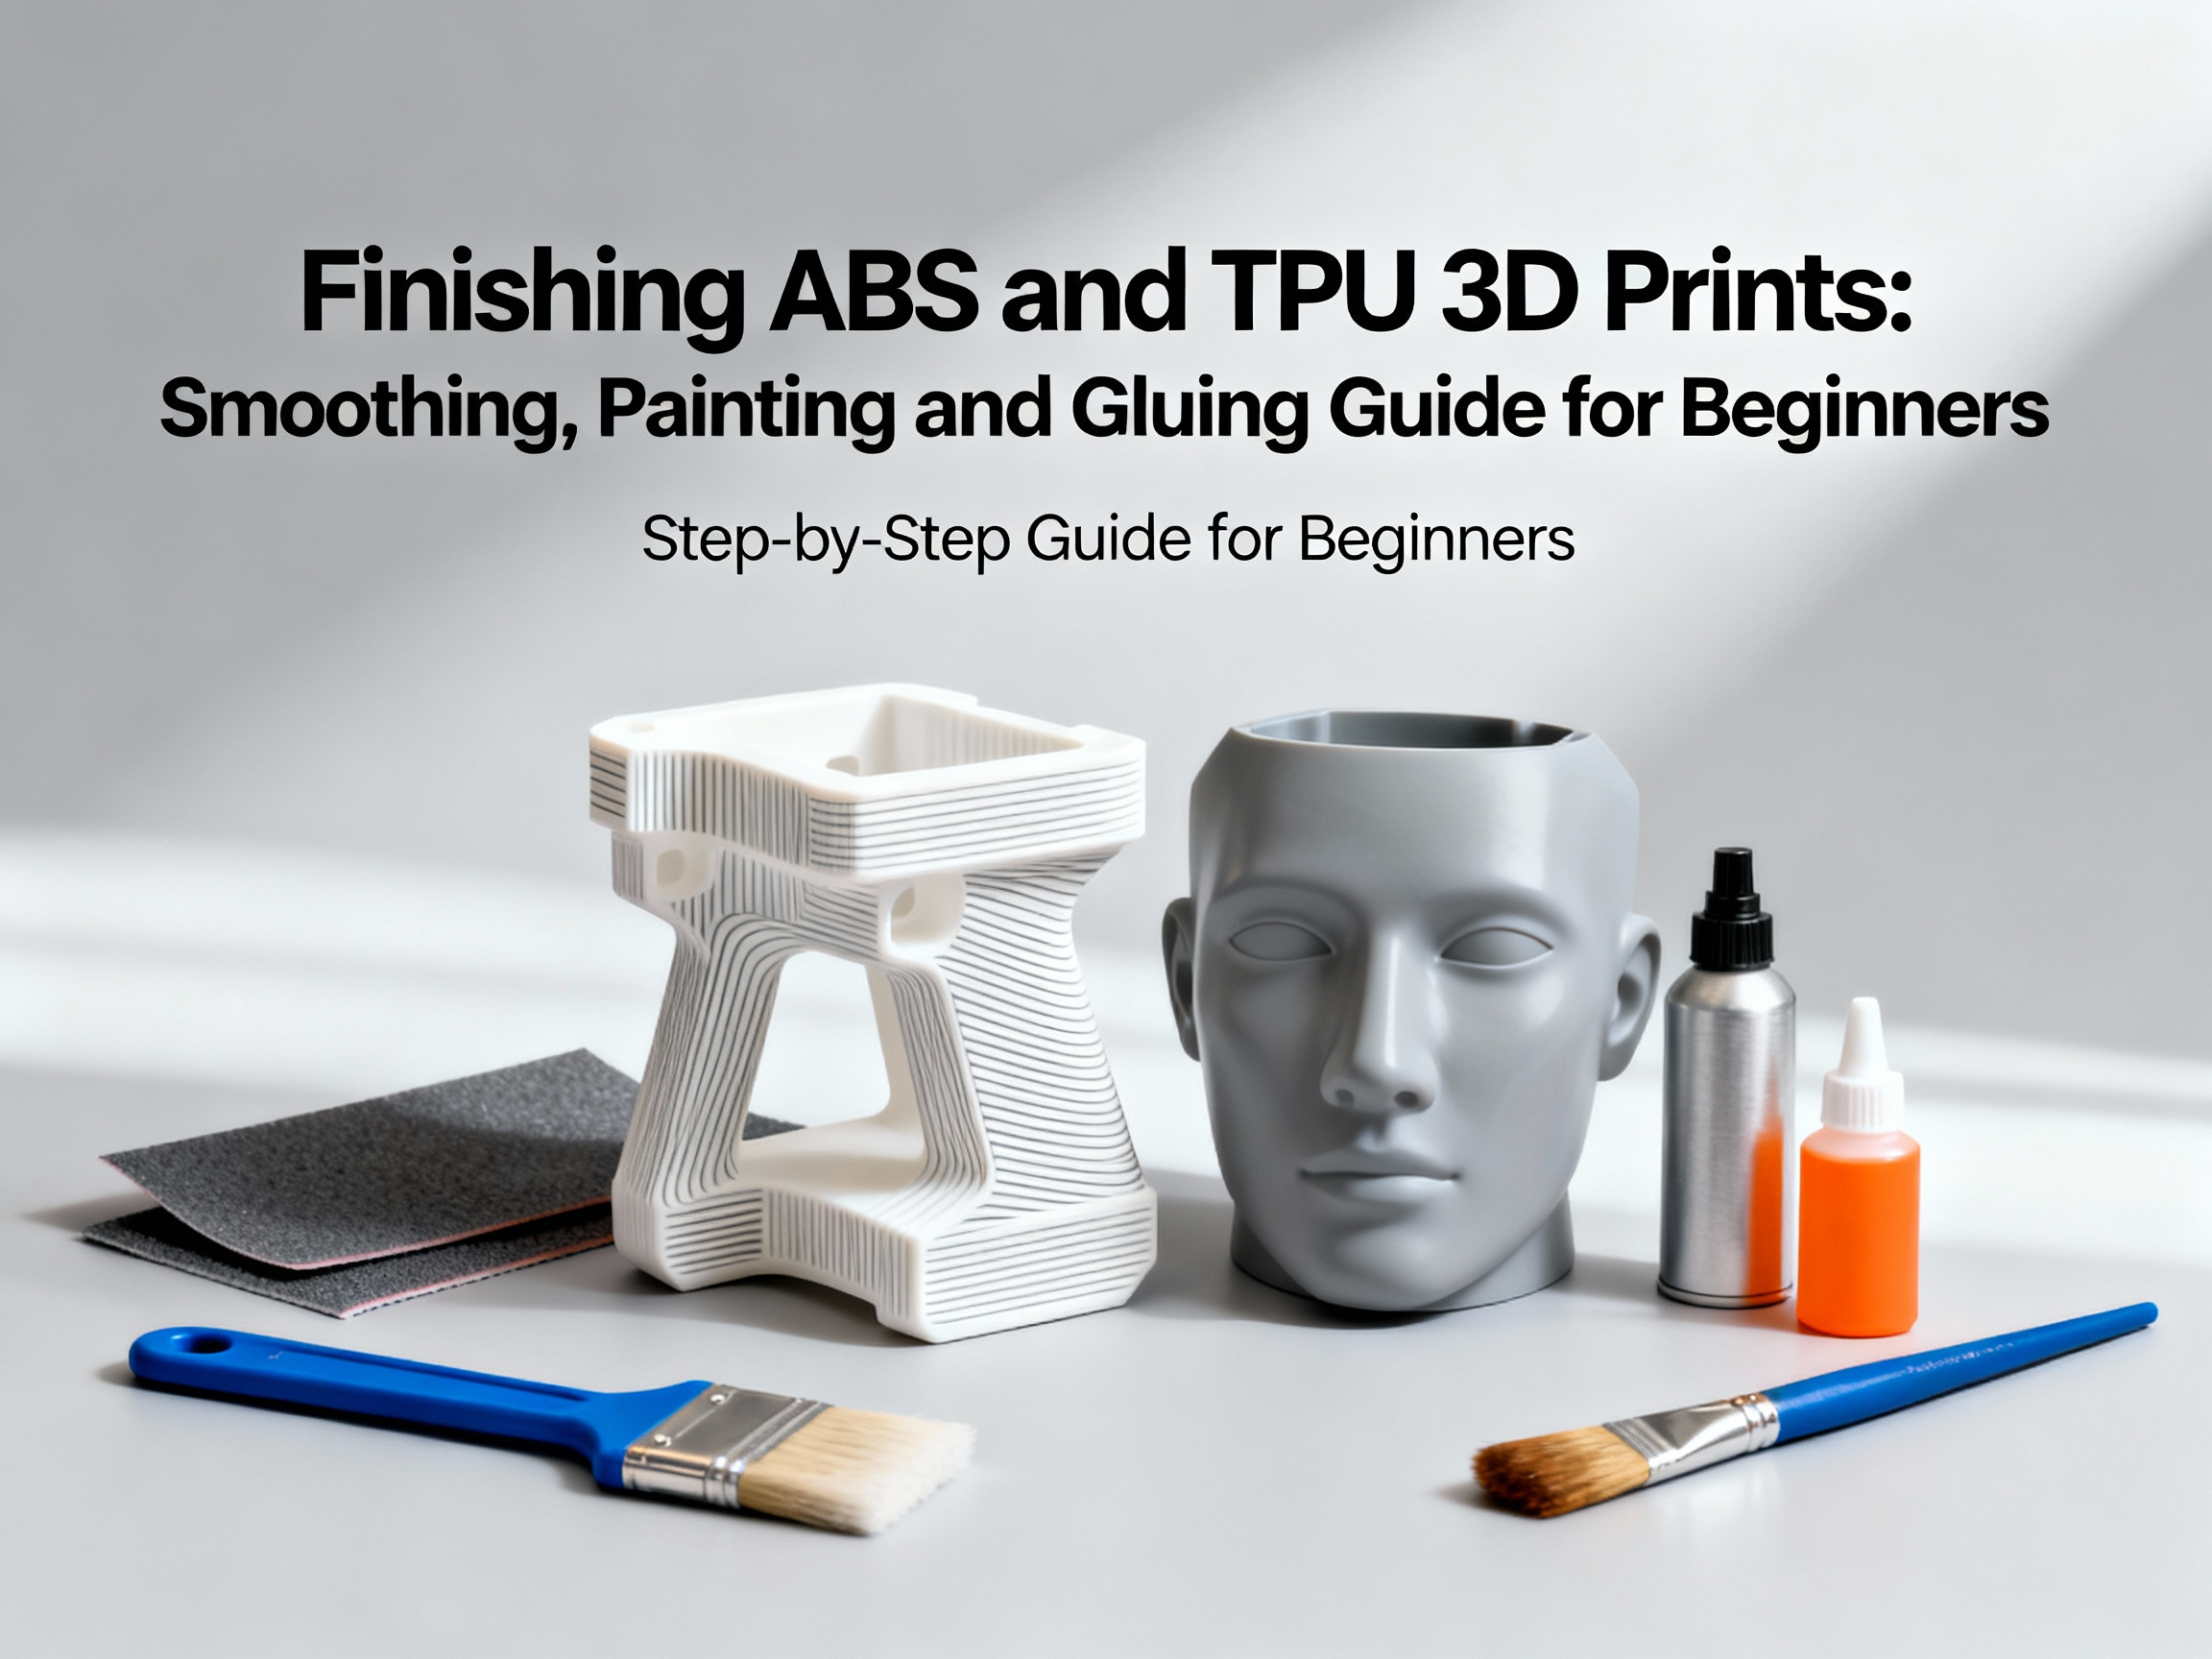
What You’ll Need (Simple Beginner Kit)
- Sandpaper: 120–2000 grit (wet/dry is ideal)
- Sanding block / sponge: helps keep surfaces even
- Needle files: for tight corners and details
- Primer: plastic-compatible (filler primer helps hide lines)
- Paint: acrylic spray paint is beginner-friendly
- Glue: CA gel / epoxy / ABS cement (ABS), flexible adhesive (TPU)
- Safety gear: gloves + eye protection; respirator for paint/solvents
Sanding ABS and TPU Prints
Sanding is the universal, low-risk finishing method. It works on both ABS and TPU, but TPU needs a gentler approach because it’s rubbery.
Step-by-step sanding (works for ABS, careful for TPU)
- Start coarse: begin around 120–150 grit to knock down the worst layer lines.
- Work up gradually: move to 220, 400, 800, and higher for a smoother finish.
- Wet sand for the final finish: 1000–2000 grit wet sanding reduces dust and improves smoothness.
- Clean between grits: wipe away dust so you don’t grind rough particles into the surface.
TPU sanding tips
- Use light pressure and finer grits sooner.
- Expect slower progress—TPU tends to “fuzz” rather than shave cleanly.
- If the part is very flexible, support it from behind while sanding.
Pros: inexpensive, no chemicals, precise control.
Cons: time-consuming, messy dust, can soften corners or remove fine detail if you go too hard.
Chemical Smoothing for ABS (Acetone Vapor)
ABS can be smoothed using acetone vapor, which gently melts the outer surface and blends layer lines into a glossy finish. This method is fast and can look amazing.
Important: acetone vapor smoothing is for ABS (and ASA). It does not work for TPU (and can damage other materials).
Beginner-friendly overview (high-level)
- Use a sealed container with the print raised above a small amount of acetone.
- The vapor softens the surface quickly—watch closely and stop early.
- Let the part fully cure before handling or painting.
Safety first (no shortcuts)
- Ventilation: do this outdoors or in a properly ventilated area.
- No flames or sparks: acetone is extremely flammable.
- PPE: nitrile gloves and a proper organic-vapor respirator (a dust mask is not enough).
Pros: fast, very smooth surface, can reduce visible seams.
Cons: hazardous fumes, flammability risk, can over-smooth details if left too long.
Priming and Painting 3D Prints
If you want a clean “store-bought” look, painting is the big level-up. The trick is to prime first so paint sticks and small scratches disappear.
How to prime and paint (simple workflow)
- Prep: sand to at least 400–800 grit for best results.
- Prime: apply multiple light coats of plastic-compatible primer (filler primer helps hide lines).
- Light sanding: once dry, lightly sand primer if needed to flatten imperfections.
- Paint: use thin, even coats; rotate the part for coverage.
- Clear coat (optional): protect the finish with matte/satin/gloss clear coat.
Painting TPU (flexible parts)
TPU flexes, so many paints crack when the part bends. Use flexible primers and rubber/vinyl-rated paints, and always test on a scrap print first.
Pros: professional look, hides seams/lines, huge variety of finishes.
Cons: multiple coats and drying time, overspray mess, thick coats can hide detail.
Gluing and Bonding: Best Adhesives for ABS vs TPU
The “best glue” depends on the filament. ABS likes strong rigid bonds (or solvent welding). TPU needs a flexible adhesive that won’t crack when the part bends.
Best glue for ABS
- CA (super glue) gel: fast and easy for small joints.
- Two-part epoxy: strong and gap-filling for structural bonds.
- ABS solvent cement / acetone welding: melts surfaces together for a near-seamless bond.
Best glue for TPU
- Flexible adhesives: polyurethane glue or flexible contact cement for joints that bend.
- CA gel (limited use): works best if the joint won’t flex much.
- Heat welding: fuse TPU carefully using controlled heat and pressure.
Gluing tips that prevent failures
- Surface prep: lightly sand and clean both faces before gluing.
- Clamp: hold parts firmly while curing (especially epoxy).
- Match flexibility: rigid glue on a flexible TPU joint often cracks.
Safety and Clean-Up
Finishing is worth it, but protect your lungs and skin:
- Wear gloves and eye protection when sanding, painting, or using chemicals.
- Use a respirator for spray paint and solvents, and work in ventilation.
- Dispose of sanding dust and chemical waste properly for your area.
Final Thoughts
Sanding is the safest all-rounder. Acetone smoothing can make ABS look incredible, but it needs serious safety discipline. Primer + paint gives the most “finished product” look. And for assemblies, choosing the right glue for ABS vs TPU makes the difference between “rock solid” and “snaps in your hands.”
Frequently Asked Questions
Can you acetone smooth TPU?
No. Acetone smoothing only works on ABS and ASA. Acetone can damage TPU and should not be used on flexible filaments.
What is the best glue for ABS 3D prints?
ABS solvent cement, epoxy, or CA glue gel work best depending on strength and flexibility requirements.
What is the best glue for TPU 3D prints?
Flexible adhesives like polyurethane glue or flexible contact cement work best for TPU parts that bend.
PETG behaves differently — see our guide to PLA and PETG smoothing. Ultimate 3D Print Finishing Guide – Smoothing, Painting and Gluing.
Craft Pricing Calculator: How to Price Handmade Products with Confidence